How to Pump Tire Bike: Quick & Easy Inflation Tips
Riding a bike is fun and healthy. However, flat tires can ruin your ride. Learning how to pump your bike tires is important. In this guide, we will show you how to do it easily.
Why You Need Properly Pumped Tires
Properly pumped tires are crucial for safe riding. Here are some reasons:
- Better Control: Well-pumped tires help you steer better.
- Less Rolling Resistance: This means you can ride faster.
- Increased Safety: Flat tires can cause accidents.
- Longer Tire Life: Proper air pressure helps tires last longer.

What You Need
Before pumping your bike tires, gather these items:
- Bicycle Pump: Choose a hand pump or a floor pump.
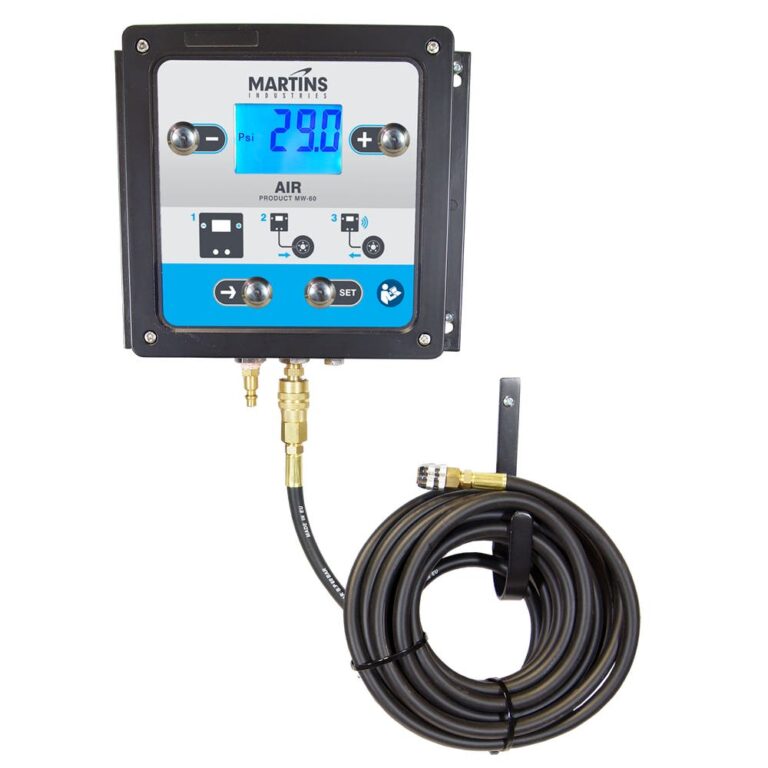
- Tire Pressure Gauge: This helps check the pressure.
- Bike with Air Valve: Know your bike’s valve type.

Understanding Bike Tire Valves
Bikes usually have two types of valves:
| Valve Type | Description |
|---|---|
| Schrader Valve | This is like car tire valves. It is wider and has a pin in the center. |
| Presta Valve | This valve is thinner and has a lock nut at the top. |
Know your valve type before pumping. This will make it easier.
Steps to Pump Your Bike Tires
Now, let’s go through the steps to pump your bike tires:
Step 1: Check The Current Pressure
Before pumping, check the current tire pressure. Use a tire pressure gauge for this. The recommended pressure is usually on the tire sidewall.
Step 2: Prepare The Pump
Attach the correct head to your pump. For a Schrader valve, use the wider opening. For a Presta valve, use the narrower one. If using a floor pump, make sure it is stable.
Step 3: Open The Valve
For a Schrader valve, simply remove the cap. For a Presta valve, unscrew the lock nut at the top. Press down to release some air. This will prepare it for pumping.
Step 4: Attach The Pump
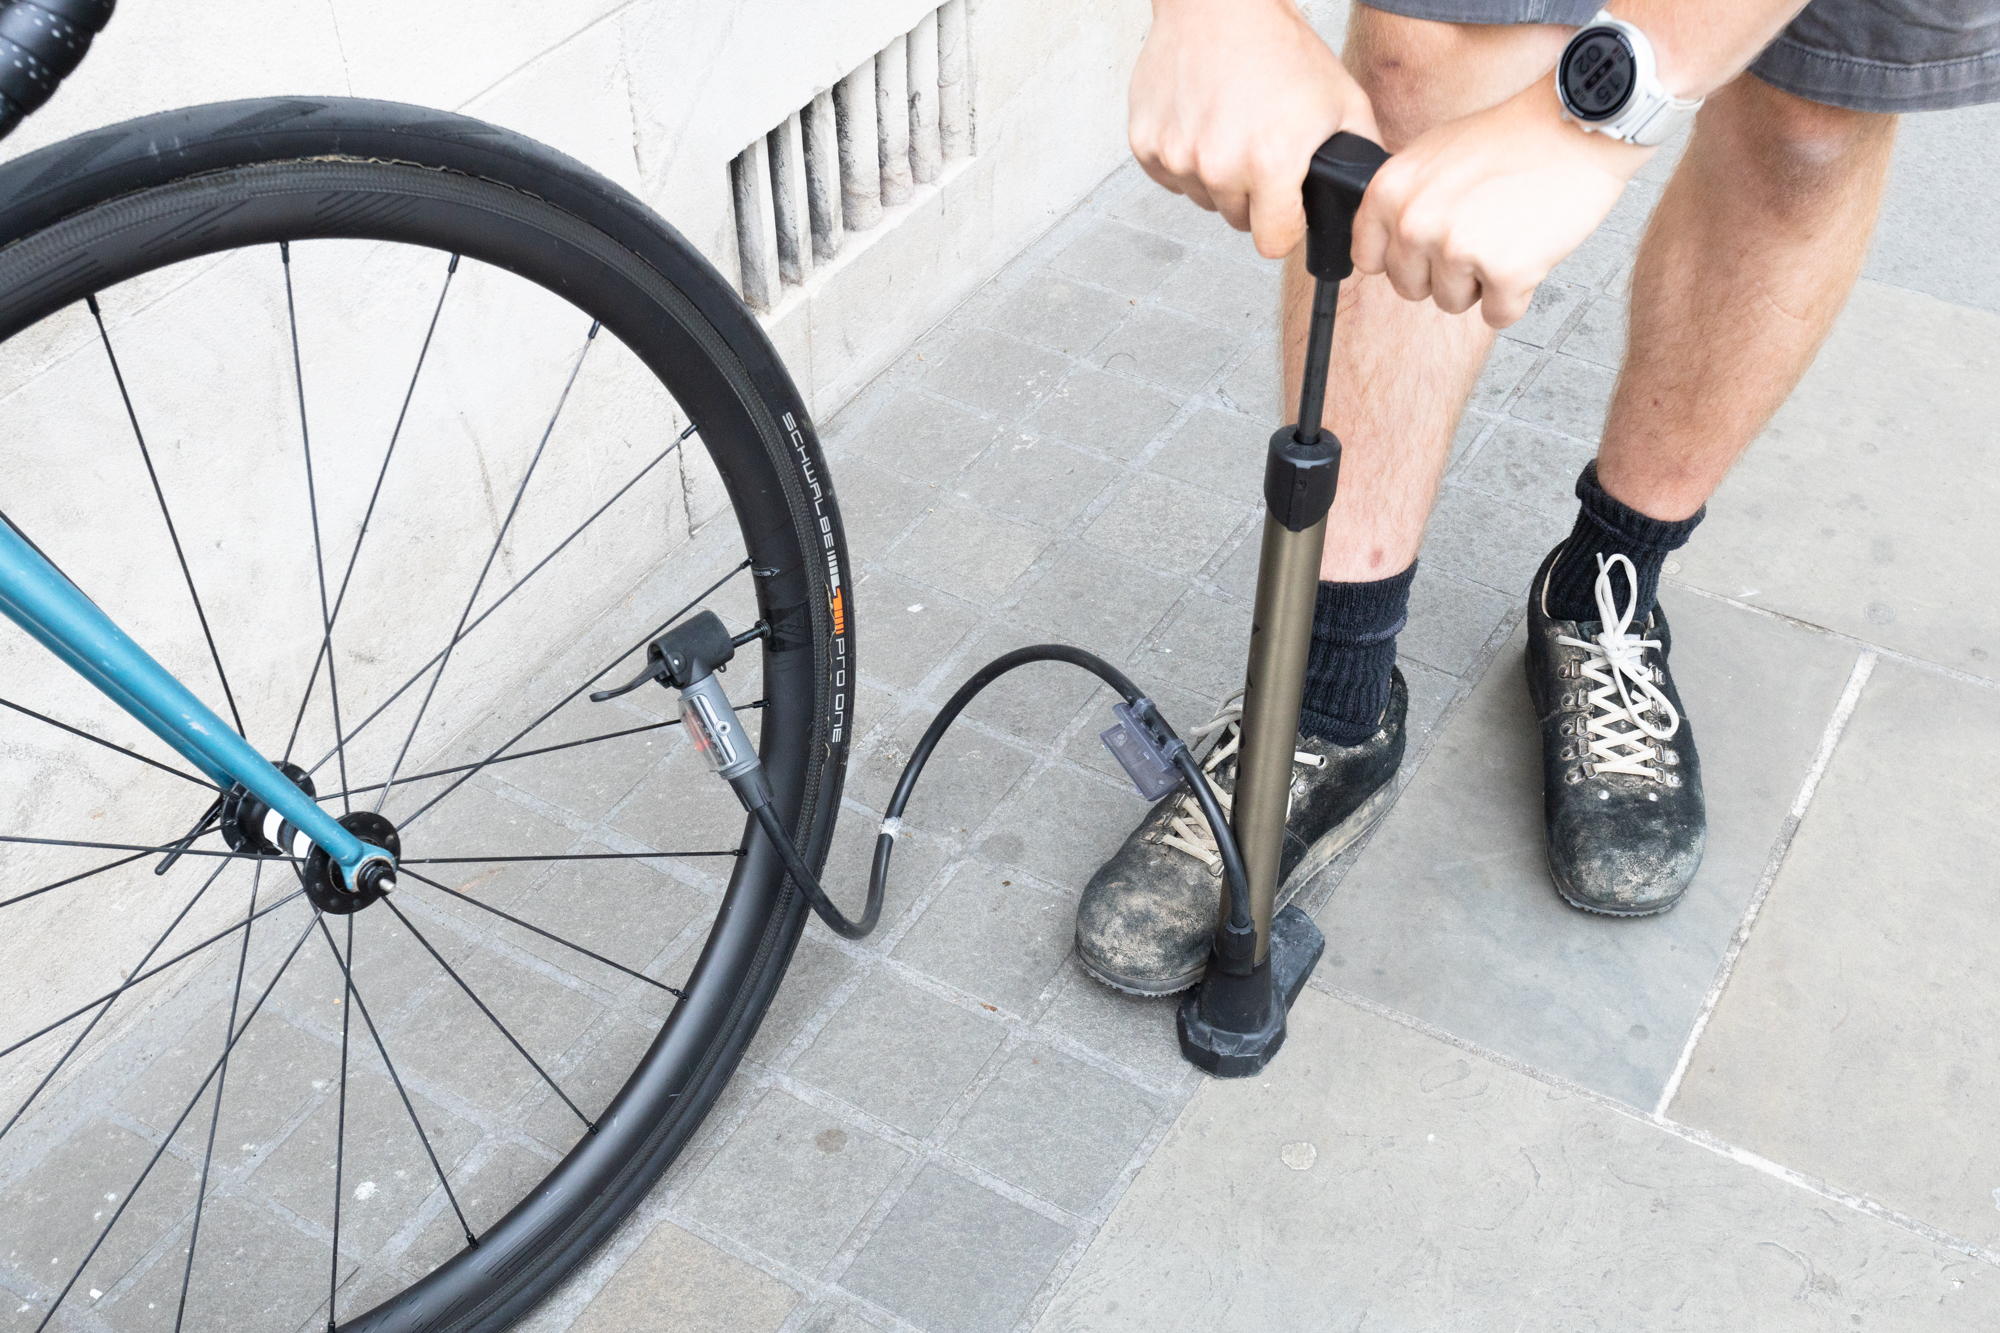
Place the pump head over the valve. Push down firmly. Make sure it is secure. If it’s not secure, air will escape.
Step 5: Start Pumping
Begin pumping the handle. If using a hand pump, use a steady rhythm. If using a floor pump, push down and pull up. Keep going until you reach the desired pressure.
Step 6: Check The Pressure Again
After pumping, use the tire pressure gauge again. Make sure it is at the recommended level. If it is too high, release some air. If it is too low, pump more.
Step 7: Remove The Pump
Carefully remove the pump from the valve. For a Schrader valve, simply pull it off. For a Presta valve, tighten the lock nut after removing the pump.
Step 8: Replace The Valve Cap
Always replace the valve cap after pumping. This keeps dirt out. It also prevents air from escaping.
Tips for Maintaining Your Bike Tires
Here are some tips to keep your bike tires in great shape:
- Check Pressure Regularly: Look at your tires every week.
- Inspect for Damage: Look for cracks or punctures.
- Keep Tires Clean: Wipe them down to remove dirt.
- Rotate Tires: Change the position of tires regularly.
Common Problems and Solutions
Here are some common problems you might face:
| Problem | Solution |
|---|---|
| Pump is Not Working | Check for air leaks or damaged parts. |
| Valve is Leaking Air | Make sure it is tight and not damaged. |
| Tire Won’t Inflate | Check if the pump is attached correctly. |
Frequently Asked Questions
How Do I Know My Bike Tire Pressure?
Check your bike’s sidewall for recommended PSI. Use a pressure gauge for accurate readings.
What Tools Do I Need To Pump Bike Tires?
A floor pump or hand pump, and a pressure gauge are essential tools for pumping bike tires effectively.
Can I Pump My Bike Tires At Home?
Yes, you can easily pump your bike tires at home using a suitable pump and following proper techniques.
How Often Should I Pump My Bike Tires?
Check tire pressure weekly. Pump as needed, especially before long rides or after extended periods of inactivity.
Conclusion
Pumping your bike tires is easy and important. Following these steps will help you ride safely. Remember to check your tire pressure regularly. This will ensure a smooth ride. Happy cycling!


