How To Inflate A Tubeless Tire
Last week, I was out on a mountain bike ride when I heard that dreaded hiss. A flat tire! Knowing how to quickly and effectively put air on a tubeless tire is essential for any cyclist or anyone with a tubeless tire setup. This guide will walk you through the process step-by-step, teaching you everything you need to know about inflating tubeless tires, from choosing the right equipment to troubleshooting common problems. You’ll be back on the road or trail in no time!
Assessing Your Tubeless Tire
Before you even think about adding air, you need to inspect the tire and identify the source of the problem. Is it a slow leak, a puncture, or something else? This initial assessment is crucial for choosing the right approach and ensuring a successful tubeless tire inflation.
Locating the Leak
Start by inspecting the tire carefully for any visible punctures or cuts. Look for embedded objects, signs of sidewall damage, or any other obvious sources of air loss. A slow leak might be more challenging to pinpoint; you might need to use soapy water to help find it.
- Visual Inspection: Carefully examine the entire tire for any visible damage, paying close attention to the sidewalls and tread. A close inspection can often reveal the source of a leak, saving you time and effort.
- Soapy Water Test: Mix soapy water and apply it to the tire, focusing on areas where you suspect a leak. Bubbles forming indicate the location of the puncture. This simple test can effectively locate even small punctures that are otherwise invisible.
- Listening for the Leak: Sometimes you can hear a hissing sound. Listen carefully near the valvestem, near the rim, and moving along the tire’s surface. This can help in pinpointing a leak that isn’t visually evident.
Assessing Tire Pressure
Knowing your recommended tire pressure is vital. Check the sidewall of your tire for the manufacturer’s recommended pressure range. Inflate accordingly using a reliable pressure gauge.
- Manufacturer’s Recommendations: Always refer to the sidewall markings for the ideal pressure range for your specific tires. Overinflation or underinflation can lead to handling issues and increased risk of punctures.
- Gauge Accuracy: Use a reliable pressure gauge for accurate readings. Inaccurate pressure readings can lead to improper inflation which can affect ride quality and tire longevity.
- Tire Condition: Consider the condition of your tires when choosing your tire pressure. Older tires often require slightly higher pressures to maintain the same performance.
Tools and Equipment for Inflating a Tubeless Tire
Having the right tools makes the job significantly easier and safer. This section details essential tools, improving the overall success rate of how to put air on a tubeless tire.
Floor Pump vs. Hand Pump
A high-volume floor pump is ideal for quickly reaching high pressures, but a compact hand pump is useful for on-the-go repairs. The choice depends on your individual needs and circumstances.
- High-Volume Floor Pump: These pumps are designed for quick and efficient inflation, making them ideal for regular use. They typically offer a higher volume of air per stroke, significantly reducing inflation time.
- Hand Pump: Portable and compact, hand pumps are perfect for carrying in a bike bag for roadside repairs. While slower than floor pumps, they are a necessity for emergency situations.
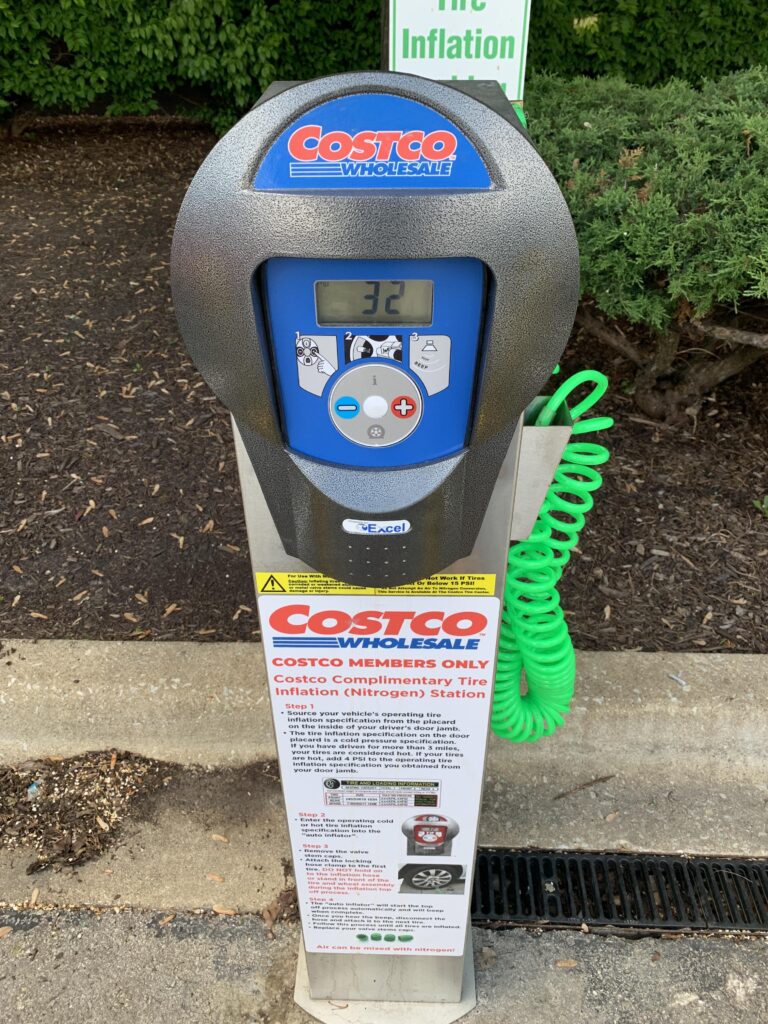
- Air Compressor: For maximum convenience and speed, an air compressor is a great option. The quick inflation makes this a good option for tire shops and those regularly dealing with many tires.
Tubeless Tire Sealant
Tubeless sealant is a crucial component. It seals small punctures automatically, helping maintain air pressure. Applying fresh sealant is essential for optimal performance. Regularly check and replenish the sealant in your tires.
- Sealant Type: Different sealants have different properties. Choose one that’s appropriate for your riding conditions and tire type. Some sealants are better suited for wet conditions than others.
- Sealant Quantity: Follow the manufacturer’s recommendations for the appropriate amount of sealant to add to your tire. Too much can create excessive weight and resistance, whereas too little may not provide sufficient protection.
- Sealant Freshness: Sealant degrades over time. Regularly inspect and replace it as needed to ensure optimal puncture protection.
Methods for Inflating a Tubeless Tire
This section provides detailed instructions on how to put air on a tubeless tire using different methods and equipment. Each method offers specific advantages.
Using a Floor Pump
This is the most common method for home use and offers excellent control. Ensure the valve core is properly seated and remove any obstructions.
- Check the valve core is properly seated and that nothing is obstructing the valve.
- Attach the pump head to the valve and begin pumping steadily. Add air until you achieve the desired pressure according to the tire’s sidewall markings.
- Monitor the pressure gauge on your pump to ensure the correct pressure is achieved.
Using a Hand Pump
Ideal for roadside repairs, hand pumps require more effort but provide a portable solution. Be prepared for a good workout!
- Ensure the valve core is seated correctly and nothing is obstructing air flow.
- Attach the hand pump to the valve stem and pump steadily to build air pressure.
- This may take significantly longer than using a floor pump; rest as needed and ensure to monitor the gauge.
Using an Air Compressor
Air compressors offer the fastest inflation but require careful attention to prevent overinflation. Overinflation can severely damage the tire.
- Make sure the valve core is correctly seated and the valve is clean and free from obstructions.
- Connect the compressor nozzle to the valve and turn on the compressor. Use a pressure gauge and release air before the max PSI of the tire to avoid overinflation.
- Monitor the pressure closely using the compressor gauge or an additional, independent gauge, to avoid overinflation.
Troubleshooting Common Problems
This section addresses common issues encountered when inflating tubeless tires, providing solutions for a seamless experience. Don’t panic – most problems are easily solved.
Tire Not Holding Air
If your tire isn’t holding air, you have a leak. Re-seat the bead, check the valve, add more sealant, and use soapy water to locate any leaks.
- Bead Seated Properly: Ensure the tire bead is fully seated on the rim. An improperly seated bead is a common cause of air leaks.
- Valve Core Issues: Check the valve core to make sure it is properly seated and not leaking. Sometimes a small amount of sealant can build up and clog the valve.
- Additional Sealant: Add more sealant to improve sealing and address larger leaks. A fresh dose of sealant can significantly improve sealing ability.
- Leak Detection: Use a soapy water solution to pinpoint the exact location of leaks. This will help in targeting repairs more effectively.
Difficult Inflation
Sometimes the tire is difficult to inflate. Make sure the bead is properly seated on the rim, and use plenty of air pressure.
- Bead Seated Properly: Properly seating the tire bead onto the rim is essential for successful inflation. A poorly seated bead will resist inflation.
- Lubrication: Applying a small amount of soapy water to the tire bead can make it easier to seat on the rim. This minimizes friction between the tire and rim.
- Using a Bead Seater Tool: In stubborn cases, specialized bead seating tools can help force the bead onto the rim, making inflation easier.
Myths About Tubeless Tires
Myth 1: Tubeless tires are difficult to maintain.
While initially setting up tubeless tires can seem more complex than tubed tires, ongoing maintenance is comparable. Regular sealant checks and occasional top-ups are sufficient for most riders.
Myth 2: Tubeless tires are always better.
Tubeless tires offer advantages in puncture protection and lower rolling resistance, but they are not always the best choice for every rider or situation. Some riders find the initial setup challenging.
Myth 3: You can’t fix a tubeless tire on the trail.
Although a large puncture might necessitate a repair shop, many minor punctures can be temporarily sealed with extra sealant and a portable air pump, allowing you to complete your ride.
FAQ
What is the best way to add sealant to a tubeless tire?
Remove the valve core, add the recommended amount of sealant while rotating the tire, then re-insert the valve core. Pump the tire to distribute the sealant evenly.
How often should I check my tubeless tire sealant?
Check your sealant levels monthly or after every few rides, depending on your riding conditions and preferences. Replenish sealant as needed to ensure maximum puncture protection.
Why is my tubeless tire leaking air slowly?
Slow leaks are often caused by small punctures, porous sidewalls, or poorly seated tire beads. Use soapy water to locate the leak and address it accordingly.
Can I use a regular bike pump for tubeless tires?
While possible, high-volume floor pumps or compressors are recommended for easier and faster inflation. A regular pump might struggle to reach the required pressure levels.
What should I do if I can’t get my tubeless tire to hold air?
Check the tire bead is properly seated, the valve core is secure, and there are no punctures. Consider adding more sealant or taking the wheel to a bike shop.
What is the ideal tire pressure for my tubeless tires?
Refer to the tire sidewall markings. Pressure depends on tire size, rider weight, and riding conditions.
What happens if I overinflate my tubeless tires?
Overinflation can cause tire damage and increase the risk of rim damage. Always adhere to the manufacturer’s recommended pressure range.
Final Thoughts
Mastering how to put air on a tubeless tire is a valuable skill for any cyclist or outdoor enthusiast. By understanding the process, having the right tools, and troubleshooting common issues, you can ensure smooth, uninterrupted rides and adventures. So, get out there, inflate your tires, and enjoy the ride! Remember to always check your tire pressure before every ride and familiarize yourself with your equipment. Safe travels!


